Fruit trees

I love fruit trees, I love the blossom, the shapes, the smell of the wood and, of course, the fruit. Most gardens are big enough for a fruit tree. I’m lucky we’ve about two dozen. Some are in the garden as part of the borders and about half are in a ‘dedicated’ orchard. Really it’s more like a lawn with trees. Generous spacing between the trees leaves loads of room for underplanting and a good run for playing ball with the dog. So I don’t see it as using space, just making the most of what we’ve got.

And that’s the key – making the most of what you’ve got. If you live in a town, nearby gardens will have fruit trees and you can rely (or hope) they are close enough to pollinate yours. If you live in the back of beyond then you need a bit more thought. We planted wild fruit in the hedges (plum, crab apple, pear) to help pollination and we picked trees that can cross pollinate each other and/or self pollinate.

You also need to think of weather. I use apple trees (for example) in three adjacent pollination groups – they work well together, and flower and fruit at the right time for the weather where I live. It’s worth doing the research and/or going to a good garden centre who will stock whats right for where you are.

Extend the season

One other really important thing – if you have more than one fruit tree of the same type (apple, pear etc) think about whether you want to use the fruit at the same time or extend your harvesting. I have early, mid and late eating apples, same for pears, and two types of plum to extend the season so I have fresh fruit longer and less overload at one time.

That’s not the case for brewing fruit – cider apples and perry pears – I want those all together so I can batch process them into cider and vinegar.

There is also more to think on variety – different fruits such as plums and apples also ripen at different times, so having this added depth also extends the season. We’re eating fresh fruit from May to December, and that’s without any fancy storage.

Size isn’t everything

The great thing about modern cultivation is that you can get dwarf trees or massive great whoppers – our orchard is half standards because they are tall enough for us to walk underneath, some trees in the borders are smaller to fit with the shrubs and flowers. We’ve even got an apple tree in a pot and it’s very happy.

Traditional and unusual

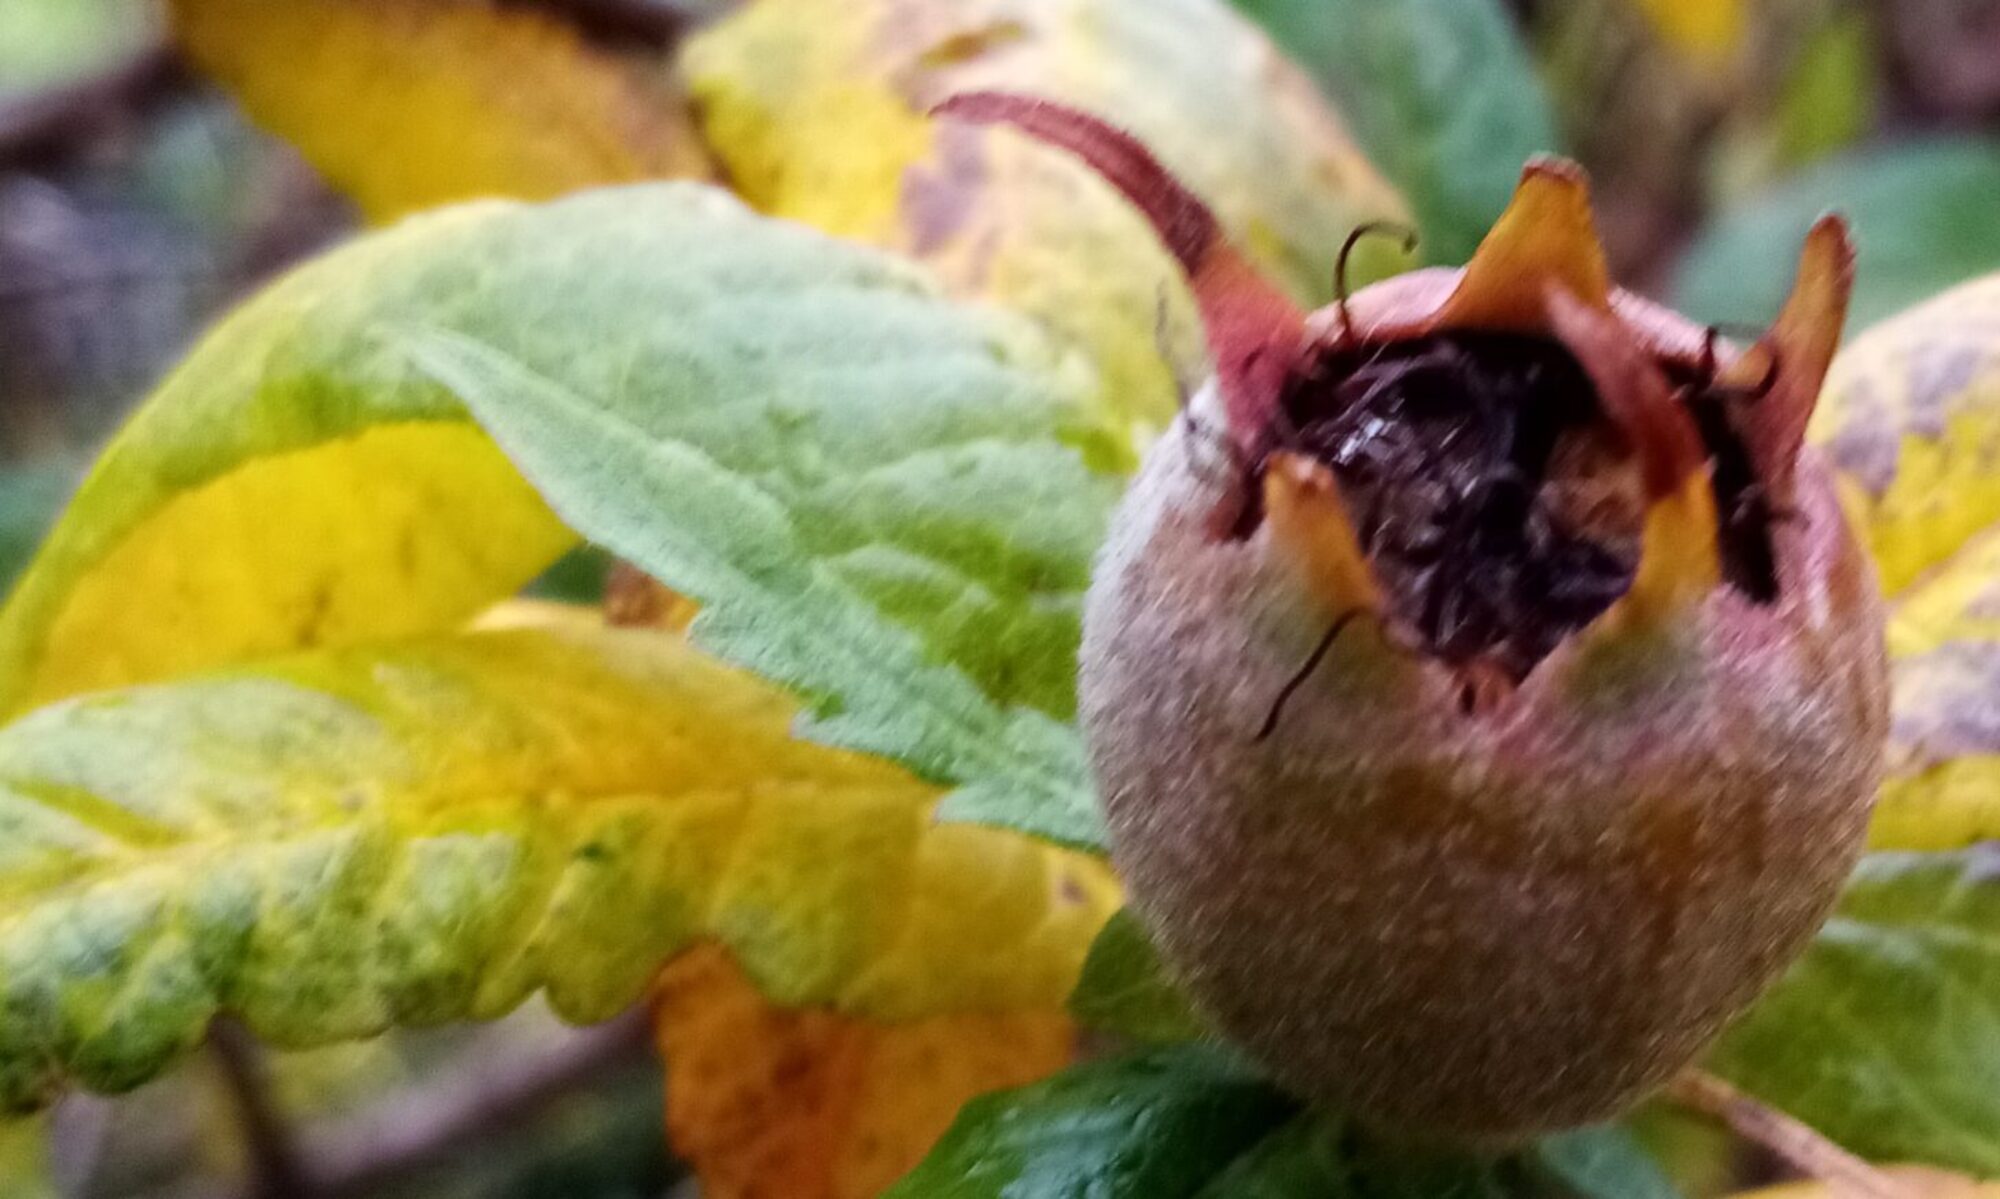
One great advantage of growing your own is the types of fruit you can grow. I have a Medlar tree – it’s beautiful, productive and you can’t buy the fruit in shops. Similarly I found damsons hard to source, and quince even more difficult. Mulberries are another. So look a little wider than just an apple tree and see what takes your fancy.

What we have (the short version)

Medlar – fruit and ornamental November fruit

Eating apples – a few types August to December

Cooking apple – one type September

Eating pears – a few types August to November

Cider and Perry – about half a dozen all September

Quince – two types, August to October

Plum – two types, July to September

Damson – one type October

Cherry – one type August

Fig – one type July to September

Mulberry – waiting for the first fruit…

That’s a lot of variety, and several that are hard to buy – I haven’t seen a fresh fig in a local supermarket since we moved here…

You’ll see that these trees are picked from July to December – covering half the year. Our soft fruits like strawberry start earlier, but raspberries, blueberry, current and elder all overlap with these.

So if like me you try to grow as much of your own fruit as you can the final thought is storage. Some varieties are excellent for this, some not so good. but they all preserve well.
Fruit Leathers

In the late Autumn I have a lot of fruit. It comes in waves, through the summer it’s the soft fruits, then the plums, then rosehips, damsons apples, pears, quince. A good orchard I have learned is one that has a long picking season for eating and a short one for brewing.

What I mean by that is that variety is key to a good orchard, or indeed to picking just 2 fruit trees for your garden. But whatever you do you will have a glut some years, and most years when the trees are mature. So what to do?

One of my favourite snacks is fruit leathers – they are small, tasty nibbles that give you energy. They are easy to take out on walks or for a quick burst of energy when you’re working. And they are easy… My two mainstays are plum and apple, but any fruit or mix will do.

Prep: 10min Cook: 12min Dry: 8hours

Ingredients

6 large apples peeled and chopped

1 tblspn sugar

50ml water (depends on the fruit)

Method

  1. Put the fruit and sugar in a pan and stew the fruit, adding a little water if you need to.
  2. Cook the mix down until it starts to stick to the pan – as thick as you dare.
  3. spread the mix onto baking parchment about 5-8mm thick or silicon non stick and dry in a dehydrator or oven at 60c until it is a solid dry sheet. Drier stores longer, moister is nicer straight away.
  4. roll the sheet and cut into sections, store in an airtight container.
Apple leathers in a jar

A few things to think about.

Firstly the sugar, you can use brown or golden, and or heat it in the pan to caramelise it first before adding the fruit. I add a little because I use cooking apples, but if I make this with dessert or eating apples I leave the sugar out entirely.

Second is the fruit. If I’m doing this with plums I leave the skins on but blitz them before cooking (so the bits of skin are tiny). If I don’t have enough of one fruit it will be a mix, apple and pear, apple and plum etc. They work well. If you’re no sure take a small piece of each fruit and eat them at the same time – if you like it then cook it. A taste test will also tell you if you need to add any sugar.

How dry? Well I tend to make my leathers so dry they crack when rolling, that’s so I can store them for months, taking me through (along with dried fruit) until the soft fruit starts.

Oh and our dig likes them too, so on a walk it can give them a boost if I’ve forgotten the snacks. And because they are low sugar they are pretty healthy. Remember fruit has plenty of sugar in it already. The good thing about leathers is you’re keeping the fibre and intensifying the taste.

Fresh Pasta

My basic do everything pasta recipe. I use medium eggs – if you use large reduce the water content. If the dough is too sticky add extra strong flour.

There are alternatives on the internet, and you can get Tipo 00 flour easily enough in most places. I can’t without buying in bulk off the internet – hence this recipe was born.

Prep: 5min Rest: 20min Roll: 5min

Ingredients

60g strong bread flour

60g semolina flour

60g plain flour

1 egg

80ml water

Method

1. Put all the flour in a bowl and add the egg, mix gently.

2. Add most of the water and stir until it almost comes together, add the last bit of water if you need it, but always err on the side of crumbly.

3. Tip it onto a board and work (knead) for a few minutes until you have a smooth dough. Add extra strong flour or water if you need to.

4. wrap in cling film and place in the fridge for 20min – this is important because the dough rests and the consistency changes a lot – it becomes much more elastic.

5. you’re ready to roll…

Rolling out the pasta is where the skill comes. A pasta machine is just so easy I totally recommend one. I have an ‘Atlas’ and any decent pasta machine will last you a lifetime. I only make pasta sheets, linguini and tagliatelle pasta with it, but I also use it for dim sum and gyoza wraps, and for making super fine pastry sheets (for samosas) because it just works so well.

The key is to roll the pasta through every stage – don’t skip a setting. And put it through a few times on ‘0’ fold and repeat to get a perfect dough – it feels silky and smooth, almost oiled. For linguini I stop at ‘5’ for tagliatelle and pasta sheets ‘6’ for some pastry wraps ‘7’. If the pasta crinkles as it comes out – then fold it in half and go back one step. If it keeps crinkling you’ve made it too thin.

Just try it, do it once to get the hang of it then it becomes easy. Rather than making chefy loop like they do on ‘masterchef’ etc I just cut the raw pasta into 4 and roll these as strips.

To cook – it takes about 3min in boiling water – keep testing after 90 seconds and drain immediately it’s ready. it will carry on cooking on the way to the sink and I always add a tiny bit of oil to the drained pasta before serving or mixing with a sauce.

Winter Lasagne

I’ve got two lasagne recipes, one for winter and one for summer. They differ in the richness of the sauce and the use of seasonal veg. This is the winter one, and has a couple of variations. The cooking times are based on using fresh pasta sheets. If you use dry you’ll need to soak/pre-cook I guess.

Prep: 10min Cook: 10min Making the layers: 3min Cooking: 18min

Lasagne just out of the oven

Ingredients white sauce

25g butter

1 heaped dstspn plain flour

500ml milk

50g grated cheddar

1 chopped mozzarella

20g grated parmesan

2 sheets Leerdammer chopped

Ingredients for layers

200g venison mince (can use beef)

200g cubed squash (crown prince/butternut)

1 chopped onion

500ml passata

1 basil cube

2 crushed garlic cloves

50ml red wine

Method sauce

  1. melt the butter into a small pan, mix in the flour and cook gently.
  2. slowly add in the milk stirring the ensure a smooth white sauce. Add the cheddar, Leerdammer and 1/2 the parmesan.
  3. Season with salt and pepper.

Method filling

  1. Fry the onion, mince and squash in olive oil. When the mince is browned add the garlic and basil.
  2. After a few second to fry off the garlic add the passata and red wine and cook until you have a thick bolognaise type sauce. Season with salt and pepper.

Method – layering up and cooking

  1. Pre-heat the oven to 225c (fan)
  2. put a thin layer of the bolognaise in the bottom of a lasagne dish,
  3. cover with fresh sheet pasta.
  4. repeat this (so two layers of bolognaise) then do one layer with about 1/2 the white sauce.
  5. Follow this up with 1 more layer of the bolognaise before topping out with the rest of the white sauce.
  6. Sprinkle of the parmesan and mozzarella.
  7. Cook for 18 min until golden.
Just going in the oven

This is a winter dish – the cheeses and the red wine add lots of richness. I use about 300g fresh pasta rolled into sheets to give me the right amount for this dish (see the pasta recipe), and remember that weight includes the water…

I always like to add one layer of the white sauce into the middle – to me it adds something to the overall unctuousness. If you want to (and it’s great), for the layer of white sauce, mix this with 150ml of courgette base/soup. You heat the courgette, make sure it’s seasoned then mix with some white sauce. This bulks the dish up and makes it even richer.

To tone down the richness you can omit the red wine, and mozzarella.

On the day crusty bread

400g as two ‘ciabatta’ style crusty loaves

When I cook a roast bird perhaps my favourite accompaniment is bread and butter. When it’s crusty and fresh from the oven I love it. Same goes for BBQ and warm salads.

The thing is my favourite bread for that is ciabatta – but because I have to prep a sour dough I have to know the day before I want the bread. When that’s not possible, and I’m not that organised here is what I do…

Prep: 2min Rise time: 4 hours Cook: 16min

Ingredients

70g semolina flour

330g strong white flour

tsp salt

15ml olive oil

tsp sugar

280ml water

1/2 a 7g pack of yeast

Method

  1. Place all the ingredients together and use programme 16 on the bread-maker. This programme makes a dough and completes 1 rise. You can do this manually, leaving the dough to rise for about 90min.
  2. turn the dough out onto a lightly oiled baking sheet, tear in half and pull out the two halves into sausages.
  3. Sprinkle with salt and leave to rise for about 40min in a proving drawer.
  4. Heat the oven to 225c (fan) and cook for 16min, serve immediately.

Shepherds / Cottage Pie

Okay so this is the basic ‘mash on top of a pie’ dish. Shepherds is when it’s lamb, cottage is when it’s beef. You’ll be unsurprised to know I make the cottage pie with Venison…

The key difference between the two is the gravy. For cottage pie you want a richer gravy, so I use venison stock and add red wine. For the shepherds pie I keep the gravy simpler, using a pheasant stock as the base, or just a bouillon base. You can substitute carrots for squash (especially a firmer squash like crown prince, but don’t be tempted by swede or turnip – they change the taste way too much.

Prep: 10min Cook; 40min (20 on the hob and 20 in the oven)

Ingredients – Shepherds pie

200g lamb mince

300g peeled potatoes roughly chopped

1 onion chopped

1 good sized carrot diced or 120g squash diced

250ml stock (pheasant or veg)

1 heaped dstspn bisto

1 dstspn Worcestershire sauce

salt, pepper, butter

Ingredients – Cottage pie

200g venisonmince

300g peeled potatoes roughly chopped

1 onion chopped

1 good sized carrot diced or 120g squash diced

200ml stock (venison or beef)

50ml red wine

1 heaped dstspn bisto

1 dstspn Worcestershire sauce

salt, pepper, butter

Before the mash

Perhaps the most important thing to get the pie right is the gravy. You don’t want too much or it cooks through the mash and makes it sloppy. But too little is just as bad – a dry pie is no fun at all. The picture shows a shepherds pie pre mash – I cooked it in the cast iron pan so I can get the gravy just right before adding the mash – no guessing – if I transfer it to a crock pot for the oven I can subtly change the balance and I don’t want that.

The filling is a firm layer, the gravy comes up to a few mm lower than the top of the layer – for me that’s perfect. And then…

Just out of the oven

You can see that even with that little gravy some has bubbled up and onto the mash and browned – that’s fine, because there is still plenty in the pie and the mash hasn’t gone watery at the edges – so now I tuck in.

Making Meatballs

Meatballs are a basic way of getting something awesome out of something that seems a bit boring (mince). There are lots of types, but the basics of making them are the same.

You start with your mince – course ground if you do it yourself. Remember that different meats have different fat content. Lamb about 20%, I use 12% beef, venison is leaner but still about 8-10% for the cuts I use. It doesn’t make a difference for the meatballs but it should make you use more (or usually less) oil in the cooking because sealing the meatballs will make them give up some of their oil to the pan.

I use a portion of about 200g of mince then mix this with the other ingredients, it depends on the style of dish what the additions are so…

Italian

1 dstspn plain flour

1/2 onion grated

pinch of salt

1/2tsp pepper

Moroccan

1 dstspn plain flour

1/2 onion finely chopped

1tsp cumin

1/2 tsp coriander paste or 1dst spoon finely chopped fresh coriander

salt and pepper

Indian

1 dstspn plain flour

1/2 onion finely chopped

1tsp cumin

1tsp coriander

1/2 finely chopped chilli

salt

Spanish

1 dstspn plain flour

1/2 grated onion

1 tsp paprika

salt and pepper

Greek

1 dstspn plain flour

1tsp corriander

1/4tsp finely chopped thyme

salt and pepper

Meatballs being browed

When everything is well mixed then form the meatballs. keep them small – 1.5 to 2 cm so you get lots each and they cook quickly in the pan. cover them with cling film and chill for 20min (at least) before using them. Two reasons for this: first it helps them bind together so they are less likely to fall apart when you stir the dish; and secondly, it also allows the flavours to marinade. I tend to make them up after breakfast.

Oh, and just to say I sometimes make the Moroccan meatballs and use a dozen as part of a tapas.

Rustic pasta

This is a firm favourite of mine, simple, lots of taste and warming for a winters night after a hard day outside. I use either meatballs made from venison or lamb, or if it’s a quick meal I’m after then I’ll chop up some sausages into 2cm pieces and use them as my meatballs.

The thing to remember here is a good quality balsamic vinegar, I use Belazu – it’s a real luxury but you only need a teaspoon for this dish, for basic balsamic you’d need at least a table spoon and it would take a lot more cooking down. If you’ve not got Balsamic then use a good glug of red wine – the richer the better, claret or rioja. Add this with the passata and cook it for an extra couple of minutes.

Ingredients

200g pasta (shells or twists ideally)

200g meatballs

1 onion finely chopped

1 finely chopped pepper

500ml passata

a generous teaspoon of balsamic vinegar

1 clove garlic

grated parmesan, salt, pepper

Method

  1. Cook the pasta in boiling salted water.
  2. While it’s cooking heat some olive oil with the balsamic vinegar in a frying pan, to drive off the acetic acid.
  3. Add the onion and pepper and soften them, then add the meatballs and seal and brown them. It will all take a glorious colour from the balsamic.
  4. add the garlic for 20sec to cook before adding the passata. Cook this for 5min to thicken the sauce and ensure the meatballs are cooked through.
  5. Season to taste, mix through the drained pasta and serve with parmesan and a good grind of black pepper.

If you want to use fresh pasta then I use linguini, it’s easy to make and works well with the sauce. I’d make 175g flour plus the egg to make a portion.

If you want to be chefy about it seal the meat balls first then put them aside, adding them back in a couple of minutes before the end – it keeps them very tender, but if your meatballs are good it makes less difference.

Pasta Bake

An old favourite for me, I love it when the sauce is just a little sloppy and you can just get the zing of black pepper coming through – the tray is a pain to clean but sooo worth it.

Prep: 10min Cook; 25min including 16min in the oven

Ingredients

200g pasta shapes (shells or twists)

500ml passata

4 rashers streaky smoked bacon chopped

200g mushrooms finely chopped

1 onion finely chopped

2 garlic cloves crushed/chopped

1 dstspn sour cream

1 mozzarella cubed

basil (1cube or a handful fresh)

salt and pepper

Method

  1. pre-heat the oven to 225c (fan).
  2. Par boil the pasta in salted water for 8min then drain.
  3. While the pasta is cooking, fry the onions, bacon and mushrooms in olive oil. I add the bacon for a minute first to that when the onions are soft the bacon has a little colour.
  4. Add the garlic to the frying pan for 30 sec then add the passata and cook the sauce.
  5. When you drain the pasta turn the sauce down low 3/10 (induction) and when the sauce reduces from the simmer add the sour cream, basil and some salt and pepper.
  6. Mix through the pasta, and place it all in a lasagne dish, sprinkle the chopped mozzarella on top and put it in the oven for 16min.
  7. When the mozzarella is golden brown it’s ready to serve.

I use passata because the extra liquid is needed to fully cook the pasta (but not over-cook it) when it’s in the oven. If you use fresh tomatoes add a little of the pasta water to make up the sauce and reduce the salt you add to balance it out. You can add a chilli if you like, and a drizzle of basil oil on top when you serve doesn’t go amiss.

Venison Tandoori

This completes my tandoori recipes, similar but different to my pheasant recipe , so not trying to be authentic – just after something that tastes good to me.

Best starting the marinade after breakfast and cooking that evening, awesome from the BBQ.

Prep: 5 min Marinade: 2+ hours Prep: 5 min Cooking: 24 min

Ingredients

  • 300g cubed venison (leg or blade)
  • 1 green pepper cut into large squares
  • 1 onion cut into large squares
  • 250g tomatillos (halved or as a cooked paste)

For the marinade

  • 1/2 tub sour cream (about 125ml)
  • 1 tsp coriander
  • 2 cayenne chilli finely chopped or 1 tsp chilli powder
  • 2 tsp cumin
  • 1 dstspn garam masala
  • 2 garlic cloves crushed or chopped
  • 1 tsp paprika
  • 1 tsp smoked paprika
  • juice of 1/2 a lime
  • salt and pepper

Method

  1. Mix all the marinade ingredients in a bowl then add the pieces of meat and stir to give them a good coating. Cover and put in the fridge for as long as you like (6 hours is good). When your ready start on step 2.
  2. Preheat the oven to 225oc (fan).
  3. Make up skewers of onion, pepper and the marinaded meat. place these over a baking tray and pour on any remaining marinade. Drizzle with a little vegetable oil.
  4. Add 50ml water and the tomatillos directly to the baking tray – this is to steam the meat as it cooks and with the marinade drips makes the sauce.
  5. Place in the oven to cook for 24min, baste every 6 minutes and turn at least once during the cooking time.
  6. Take out of the oven and empty the skewers onto the plate, put the baking tray on the hob on a high heat (8/10 on my induction) and stir briefly to mix the remaining water, sauce and roasted tomatillos. Remove the skins and drizzle on top of the tandoori.
Ready to go in the oven

Things to think about…

I normally serve it with a little rice (often flavoured with a cardamon pod in the water), a potato or pumpkin curry and poppadum’s or naan, along with dips – basically I love to have a taps style curry rather than a one dish meal.