Tomatillo

Tomatillos

Tomatillos or ‘Mexican husk tomato’ originate, unsurprisingly, from Mexico. They are a member of the Physalis family. It grows very easily in my greenhouse as a bush up to about 1.5m high and needs supporting to stop it becoming too unruly.

The fruit appear as ‘lanterns’ wrapped in a papery leaf and swell until they fill and ultimately split the pod. When de-husked they look like green or greeny-yellow cherry tomatoes and are slightly tacky to touch. They keep for a couple of weeks off the plant on the sideboard, and just need a wash before using.

When you look online to find out what to do with them salsa verde is probably every one of your top ten recipe hits! but this little fruit is amazingly versatile. It has a slight lime tang and is brilliant raw or cooked. I use it in salsa (of course), but also in things like Thai green curry and spicy lime dips. It cooks like tomatoes and adds a great glossy/stickiness to sauces, raw it has a similar texture to tomato and can be (as tomatoes can) sweet or firm or squishy or tart… I love it.

When I first grew it I wasn’t convinced, but now I’m a convert. Never seen it in the shops so I grow 4-6 plants a year, use the fruit fresh while I can (July to November) and freeze the rest as pre-cooked blocks in 150 ml and 500 ml cubes (smaller for dips and larger for bigger curries etc. ) .
Lime and Tomatillo Dip

My substitute for Lime pickle – great with poppadoms…

I love spicy food, and while I can buy lime pickle around here it lacks the depth of flavour and the hot tang I crave – so I made this up one day and have never looked back!

Prep: 3 min Cooking: 10min Resting/marinading: 20+ minutes

Ingredients

150 g tomatillos, washed and cut into small pieces

1 cayenne chilli chopped

Juice of 1/2 a lime

zest of 1/4 lime cut into tiny batons

pinch of salt and pepper

Tomatillos, lime and chilli

Method

Place all the ingredients (except the pepper) in a pan, add about 100ml of water and cook until you get a sticky paste. Grind the pepper on top and voila:

Tomatillo lime dip

I keep my chilli chunky, and I still want a bit of texture in the tomatillos – not too much, but similar to a mango chutney.

You can add extra chilli if you like or extra zest for a punchier flavour – but for me it’s just right.

Venison Stock

Basic stock for everyday cooking.

Cooking: 1.5 to 2 hours

Ingredients

750g Venison bones

1 litre water

1/2 teaspoon boullion

If the bones are shin or thigh make sure they are cut so the flavour from the marrow can get into the stock. Make sure the bones are small enough to go into a small pan so they are submerged with the water.

Method

Place the ingredients in a pan and bring to the boil, put the lid on and reduce the heat to a very low setting where the water is just bubbling and the lid stays unruffled by the steam. On my induction hob that’s 2/10.

Cook the stock for at least 90min, ideally 2 hours then put to one side to cool or use it straight away. Remember to pick at the bones to get any meat off, and to strain the stock to remove any bone fragments.

If you store the stock in the fridge use within 2-3 days.

The quantities are a guide to the proportions I find useful – If you want just multiply it all up and freeze it in 500ml blocks (see below). But if you stick to smaller batches you can play with flavours – roasting the bones first in the oven (200 c in a fan oven with a smear of olive oil adds a deeper flavour – good for gravy but not for broth. Up to you…

Not much to look at!

Why make your own stock?

You can buy stock, and stock cubes, but if like me you buy venison by the ‘beast’ then you want to make the best out of every bit…

Typically I’ll freeze maybe 5 or 6 packs of bones and use half the stock fresh, and freeze the other half. I could make a huge batch but I like to take the time and faff, playing with flavours because it’s how I like to relax.

Making Stock Blocks

Save up some large margarine tubs and keep the lids. Open out a plastic freezer bag and place it in the tub (remember to label it first),

Pour in the stock until it’s almost full, fold over the bag to cover the top then pop the lid on. Leave until it’s cool before stacking in the freezer.

Leave it for at least a day to freeze then pop it out of the tub, still in the bag and tie the bag – hey presto a 500ml stock cube…

Remember not to tie the bag before you freeze it as the liquid will expand – and for the same reason always leave a little room in the tub for expansion – if you over fill the tub will crack.

Pumpkins and Squash

Over the last few years We’ve consistently grown two types of pumpkin. We’ve tried several and will keep on trying the odd new variety but these two are staple favourites.

Red Kuri

A fertile climbing squash I grow in the poly-tunnel. A good plant will produce four or so round orange/red squash about 20cm diameter. I pick them when the stalks go woody and the season lasts from late July to early October. After a week on a window sill to firm up the skin they store for months on a dry cool shelf in the kitchen. Typically at least 4 months.

three Red Kuri sitting on a shelf

As you can see, and perhaps because they are from my own seeds, they vary in size, shape, colour and texture – but they all still taste great!

Crown Prince

Crown Prince

A sterile (so I buy seeds every year) outdoor pumpkin. Spreading vines about 4m long and each plant normally produces one large pumpkin 30-35cm diameter.  This might not seem like a big difference from Red Kuri – but each fruit has about six times as much usable flesh. They crop later – typically I pick them just before the first ground frost, and they store for a good six months.

Why two varieties?

A few reasons, firstly it extends the season, secondly crown price stores so well I can be eating it into the following spring, thirdly it gives me ‘pumpkin security’ – sometimes one variety doesn’t do so well so I rely more on the other.

There are culinary reasons too. The two squash are different in flavour and more importantly (to me) texture. Crown prince is harder, keeps it’s texture better when cooked, Red Kuri is softer and pulp and softens much more readily. So just like potatoes I have a preference for different squash in different dishes. Red Kuri is awesome with leaves in a curry, as a soup or sauce, as a mash. Crown Prince reins supreme as chips, roasties and as a veg in a stew or slow cooked pie.

Think of it as the difference between sweet potato and butternut squash and you get the picture. Both of these are substitutes for squash in my recipes as are carrots in a few. So that too will give you an idea of how/when to use them if you grow them.

Rosehips

Hips are the fruiting bodies of roses. But because of selective breeding for blooms in many varieties are sterile, or unable to be pollinated because of the abundance of petals, and hence produce no hips.

Of those that do produce hips – well not all hips are created equal… I currently use two types for cooking: Rosa Rugosa (alba); and Rosa Canina. To give them the English translation the Wrinkled Rose (White) originating from China and Japan and the Dog Rose which are native to Europe and the West/North-West of Africa.

Rosa Rugosa

Rosa Rugosa produces larger hips (about 2.5cm diameter), as slightly flattened spheres. They ripen earlier than Dog Rose and the season lasts much longer (August to November here). So I can get multiple pickings. I always leave about 20-30% for the birds in the early season as there is still a lot of other food sources, but into November I cut back to50%.

The good thing about Rosa Rugosa is the hips tend to be on the outside of the plant and easy to pick and when they are ripe the thorns drop off the stem of the hip – almost inviting you to pick them.

Dog Rose
Rosa Canina

Dog rose, by contrast has skinnier hips maybe 2.5cm by 1 cm thick, on last years wood and therefore often protected from picking by this years growth. They are available later (October, November) and are trickier to pick without thick clothes and occasional swearing. Because of this and the time of year I rarely pick the full 50%. However, the hips keep better off the plant and you can have a few rounds at picking over a week without fear of losing the earlier harvest before you process the batch.

Both are prolific, and while I love the ease and bulk of the Rugosa rose hips the flavour is (to me) less intense and slightly thinner.

Medlars

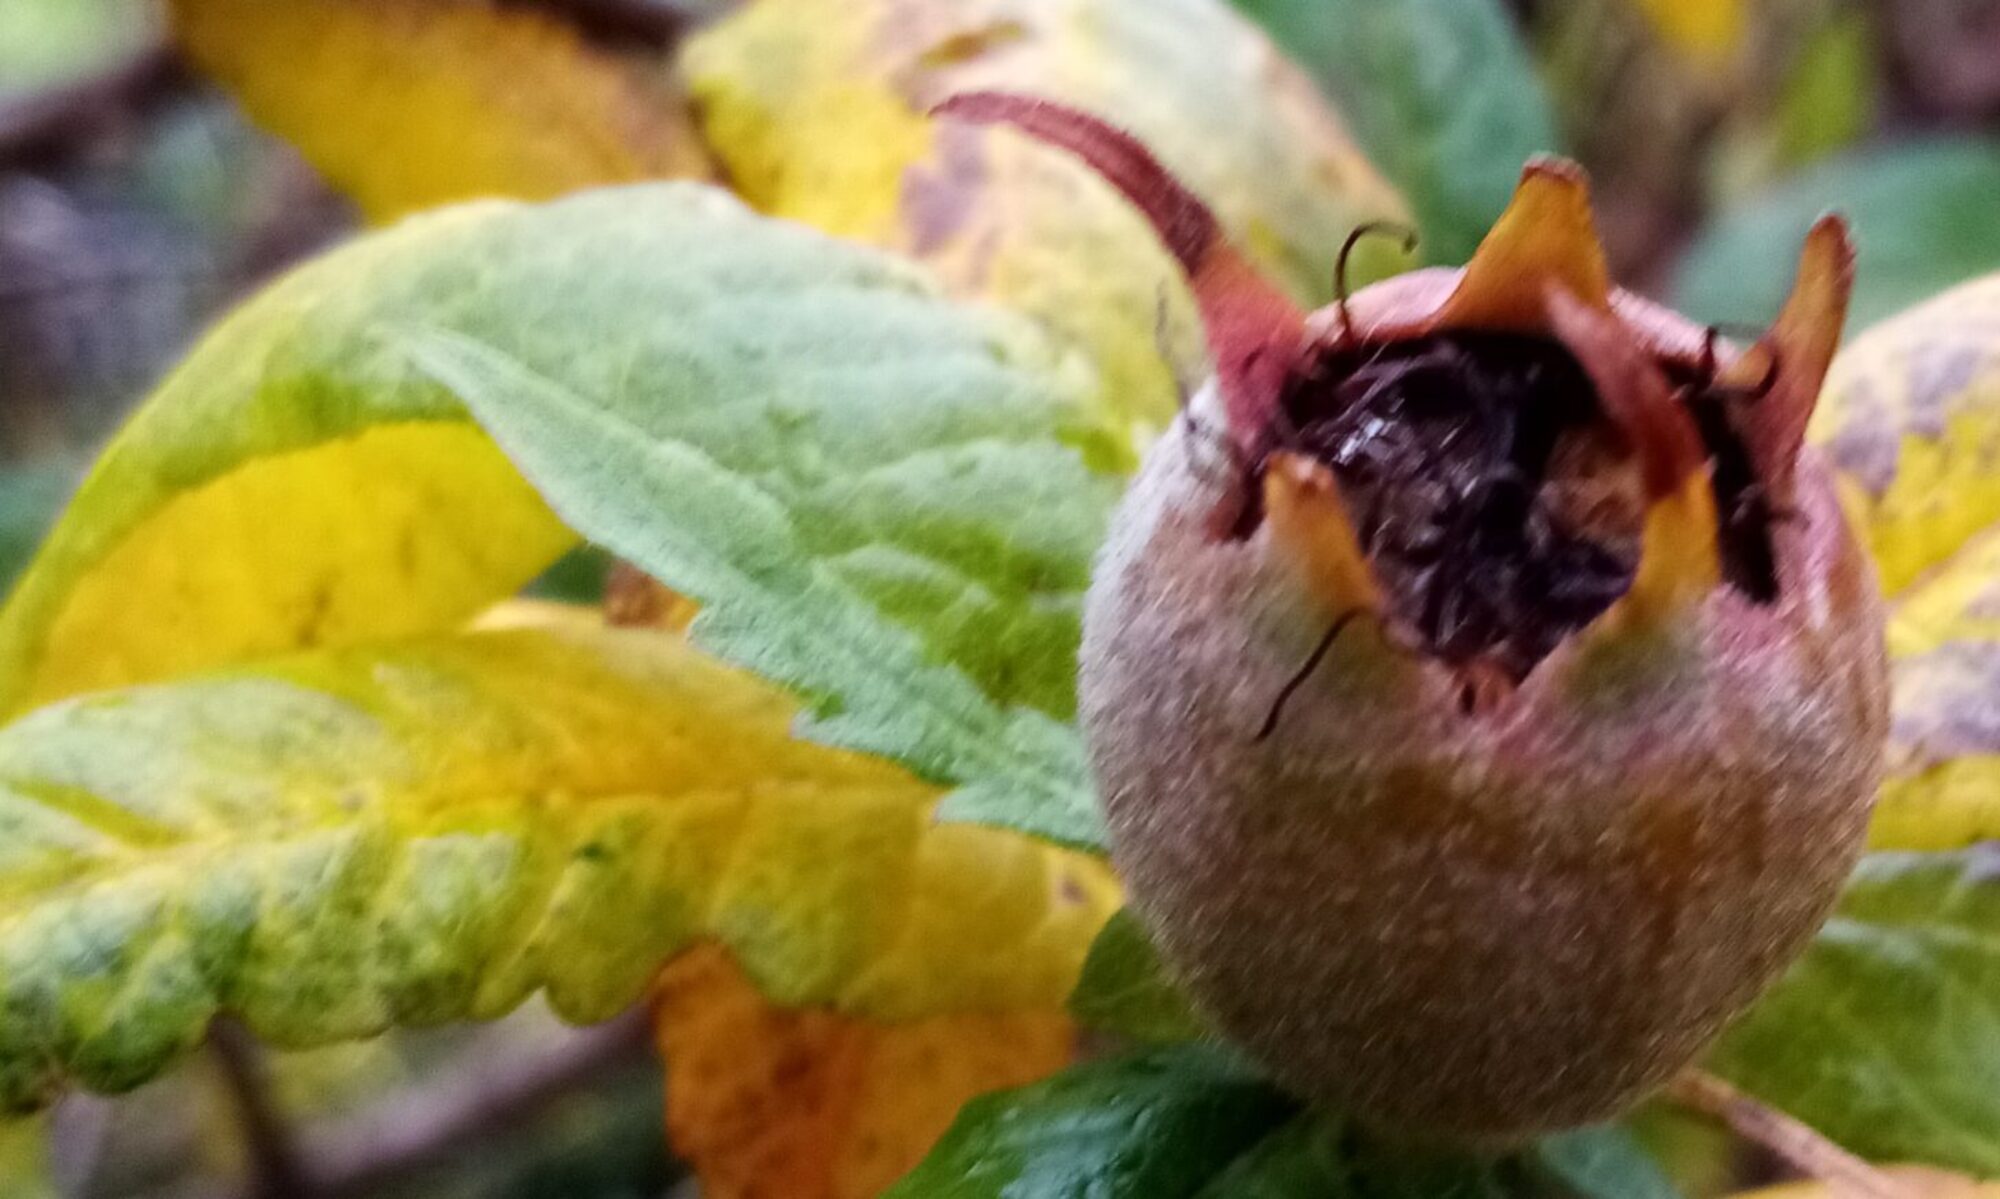
The fruit of the Medlar tree, smallish (5cm) round fruit with a rough brown skin. The only way to get them I know of is to grow them – they used to be popular (apparently) but not for a hundred years or so. It’s a shame because the trees themselves are beautiful, a spreading habit, easy to care for, amazing autumn colour and large creamy flowers in the spring. Just as an ornamental tree they deserve a place in the garden.

So the fruit… Best picked after the first frost and then stored somewhere cool and dry to ‘blet’ that means ‘go soft and squishy’. Checking them twice a week it normally takes about 14 days. They become soft and you know that you could squeeze and burst them like an over-ripe kiwi-fruit. That’s perfect!

A medlar inside and out

The taste is gorgeous – forget what you’ve heard about an ‘acquired taste’ its like a sort of pear/apple slightly tart paste with a smooth creamy texture. The taste is complex, not that sweet (which I like) and totally unique. 

It’s a messy job but extracting the pulp and discarding the seeds and skin is then the order of the day. Use the pulp immediately or freeze. It’s good raw with cheese and port, or cooked in all sorts of ways.

If you’re not so keen on the messy squishy way of extracting pulp there is an alternative – if you’re using the medlars to flavour a sauce or to make a jelly you can simply squish them and heat them in water – just boiling. Stirring dissolves the pulp into the water and then you can strain out the skins and pips. You can reduce the liquor to the right consistency for what you want and even then freeze it like stock. But this method does change the taste so it’s not ideal for pastry fillings.